FO Friday: Whoooo’s There?

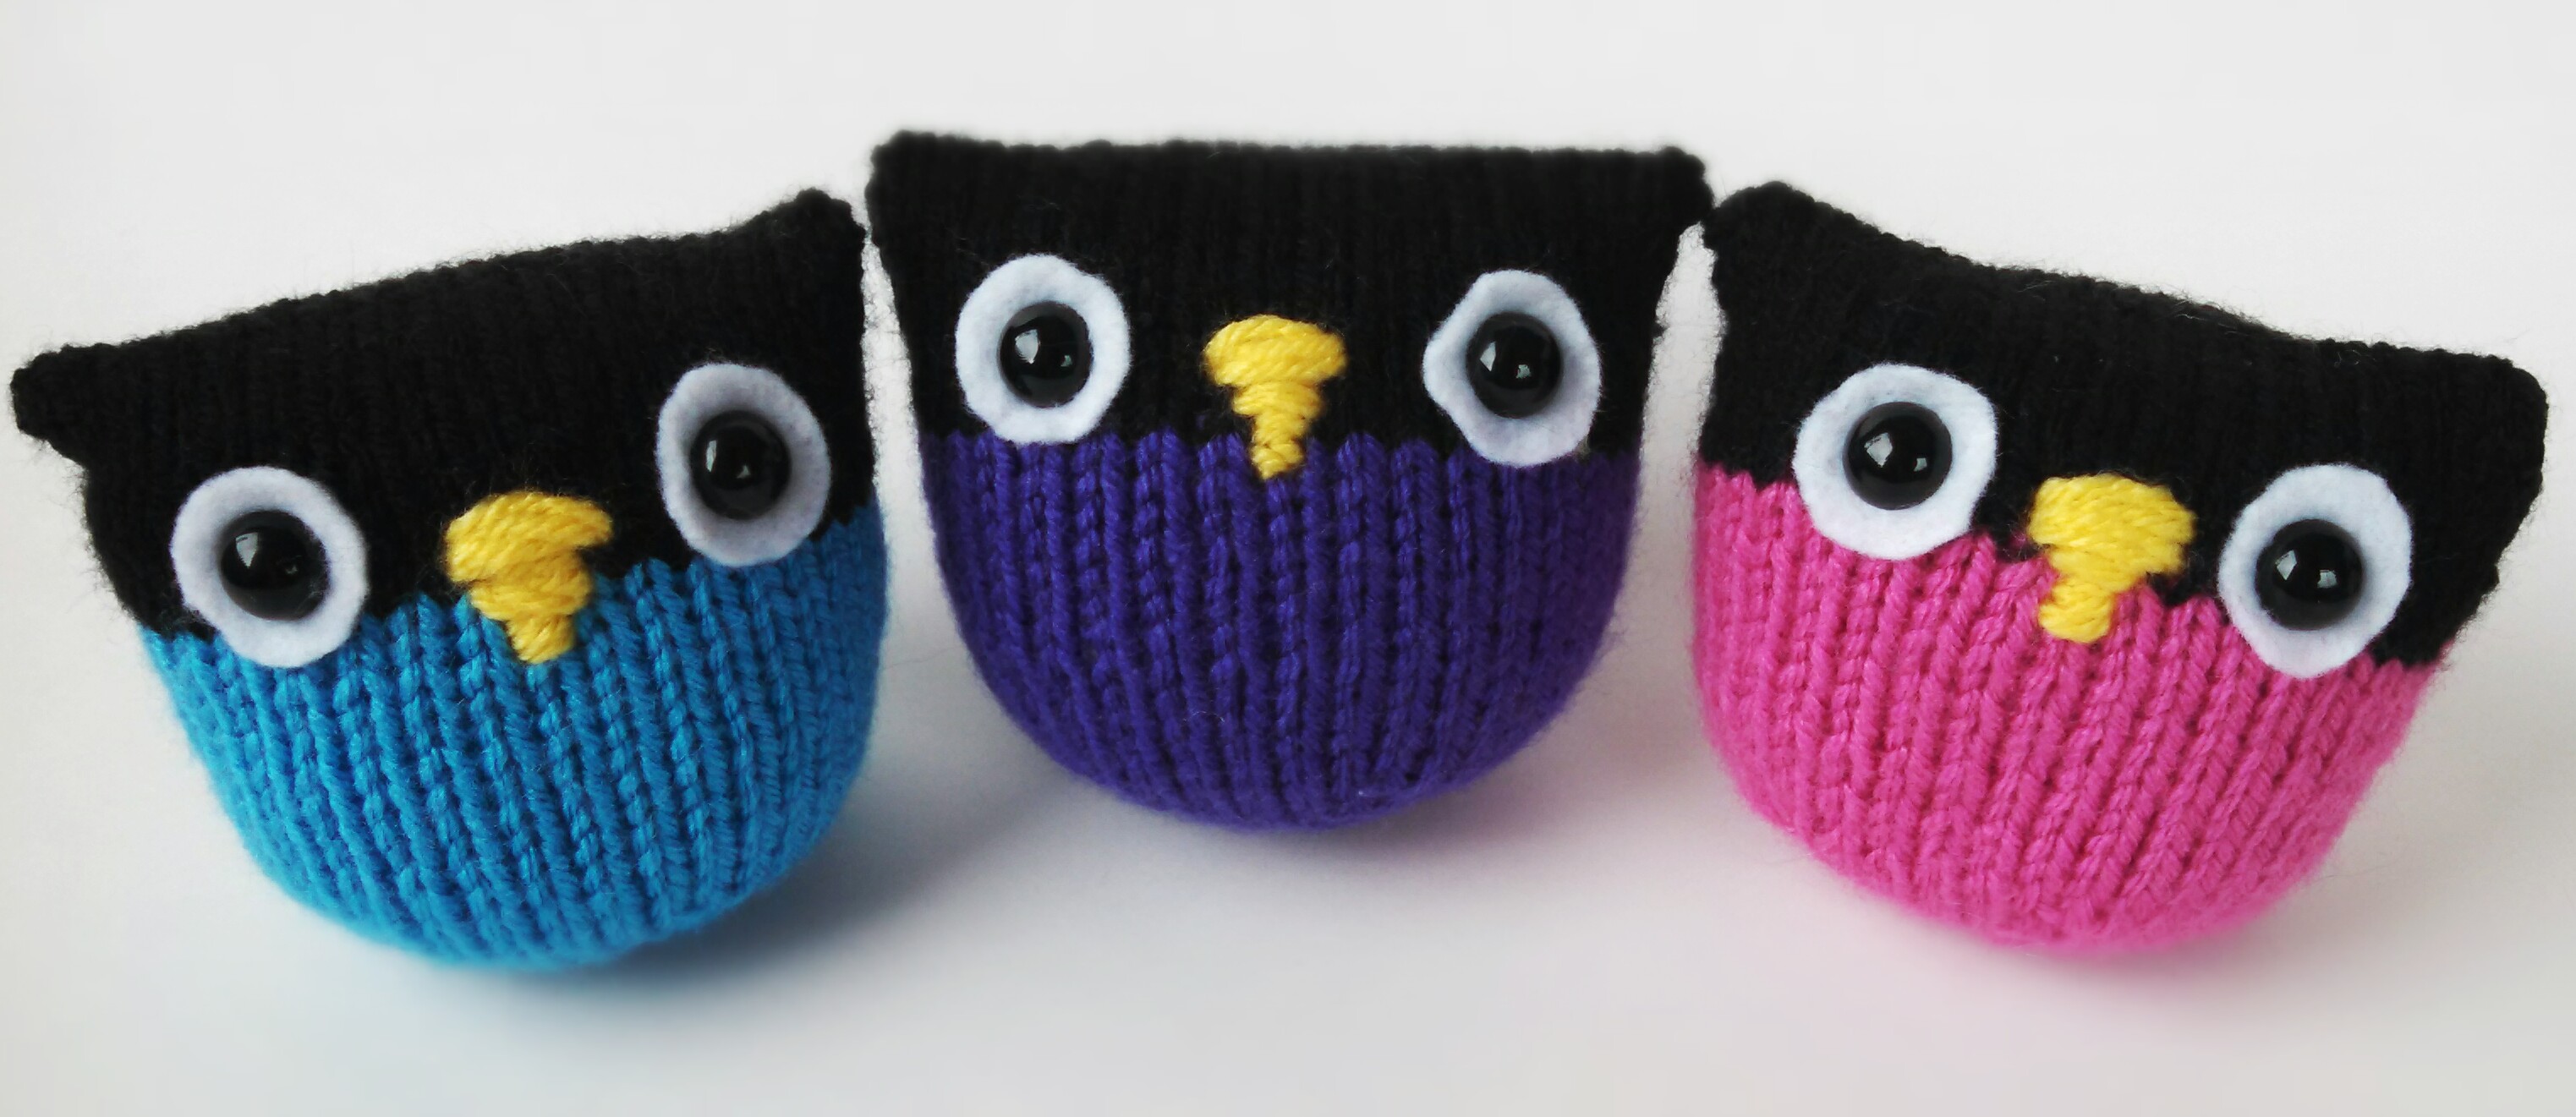
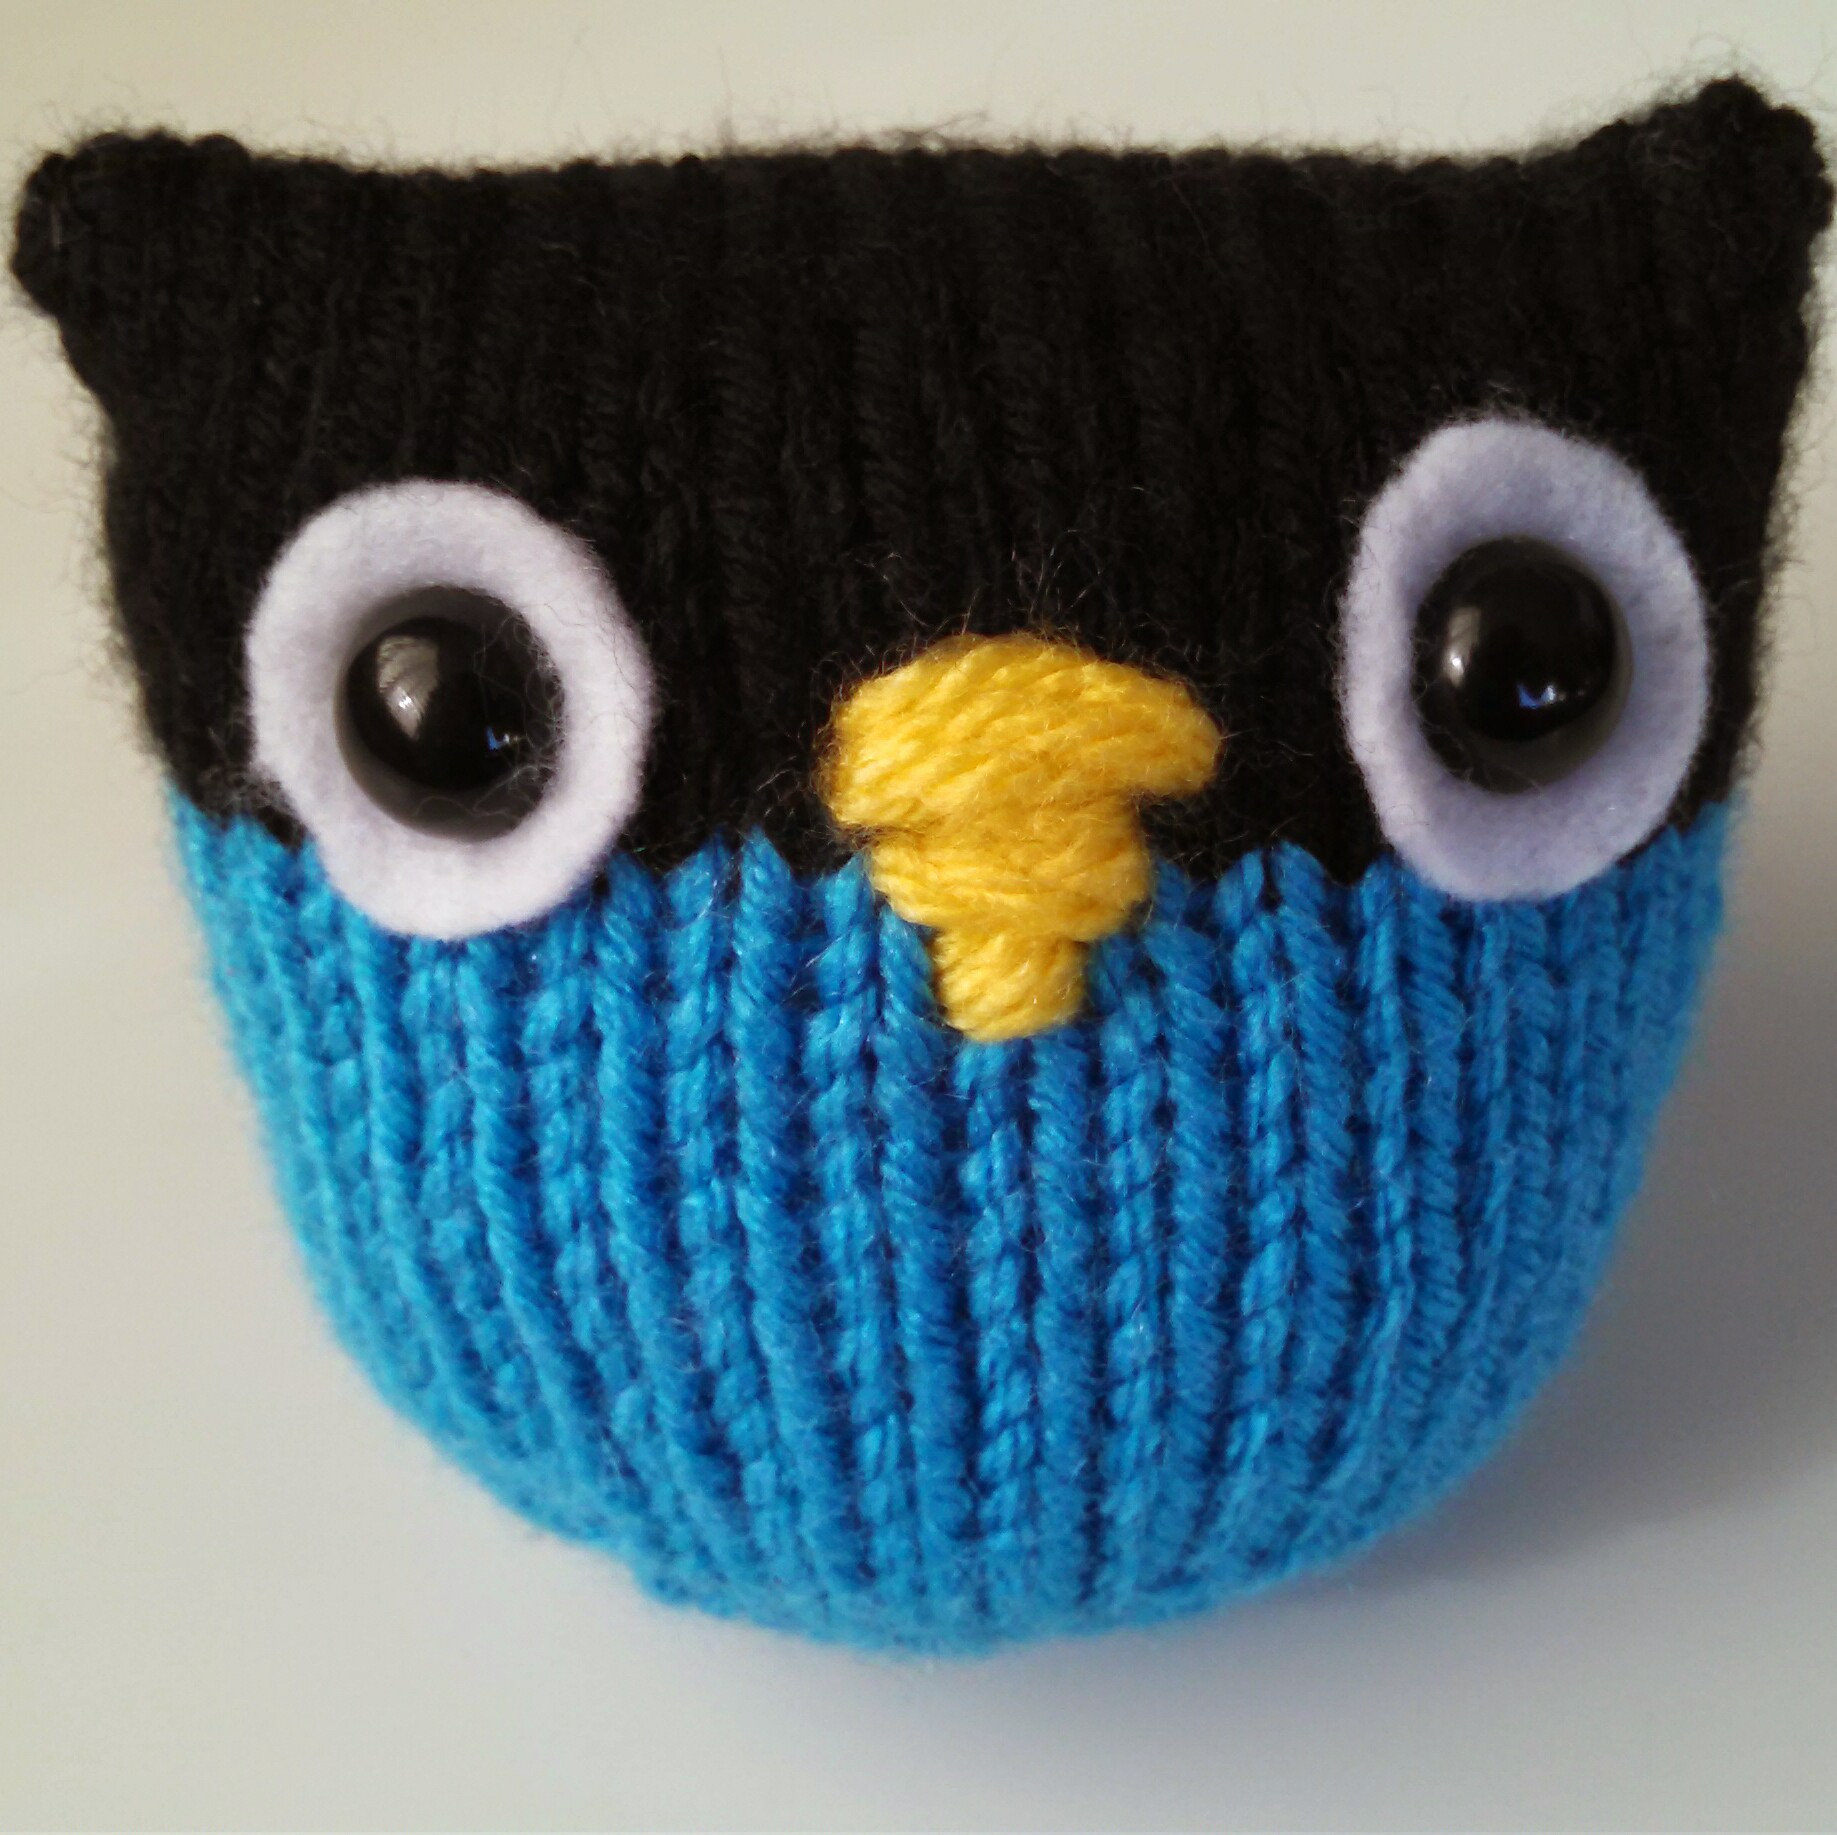
In addition to working on my bloom and afghan, this past week I’ve knocked out a few quick projects. I discovered the pattern for these Owl Puffs last year. I’m hooked! They are so cute and fun!

IMG_20150306_080313_560~2

IMG_20150303_103517_773~2

C’mon! How cute is that?

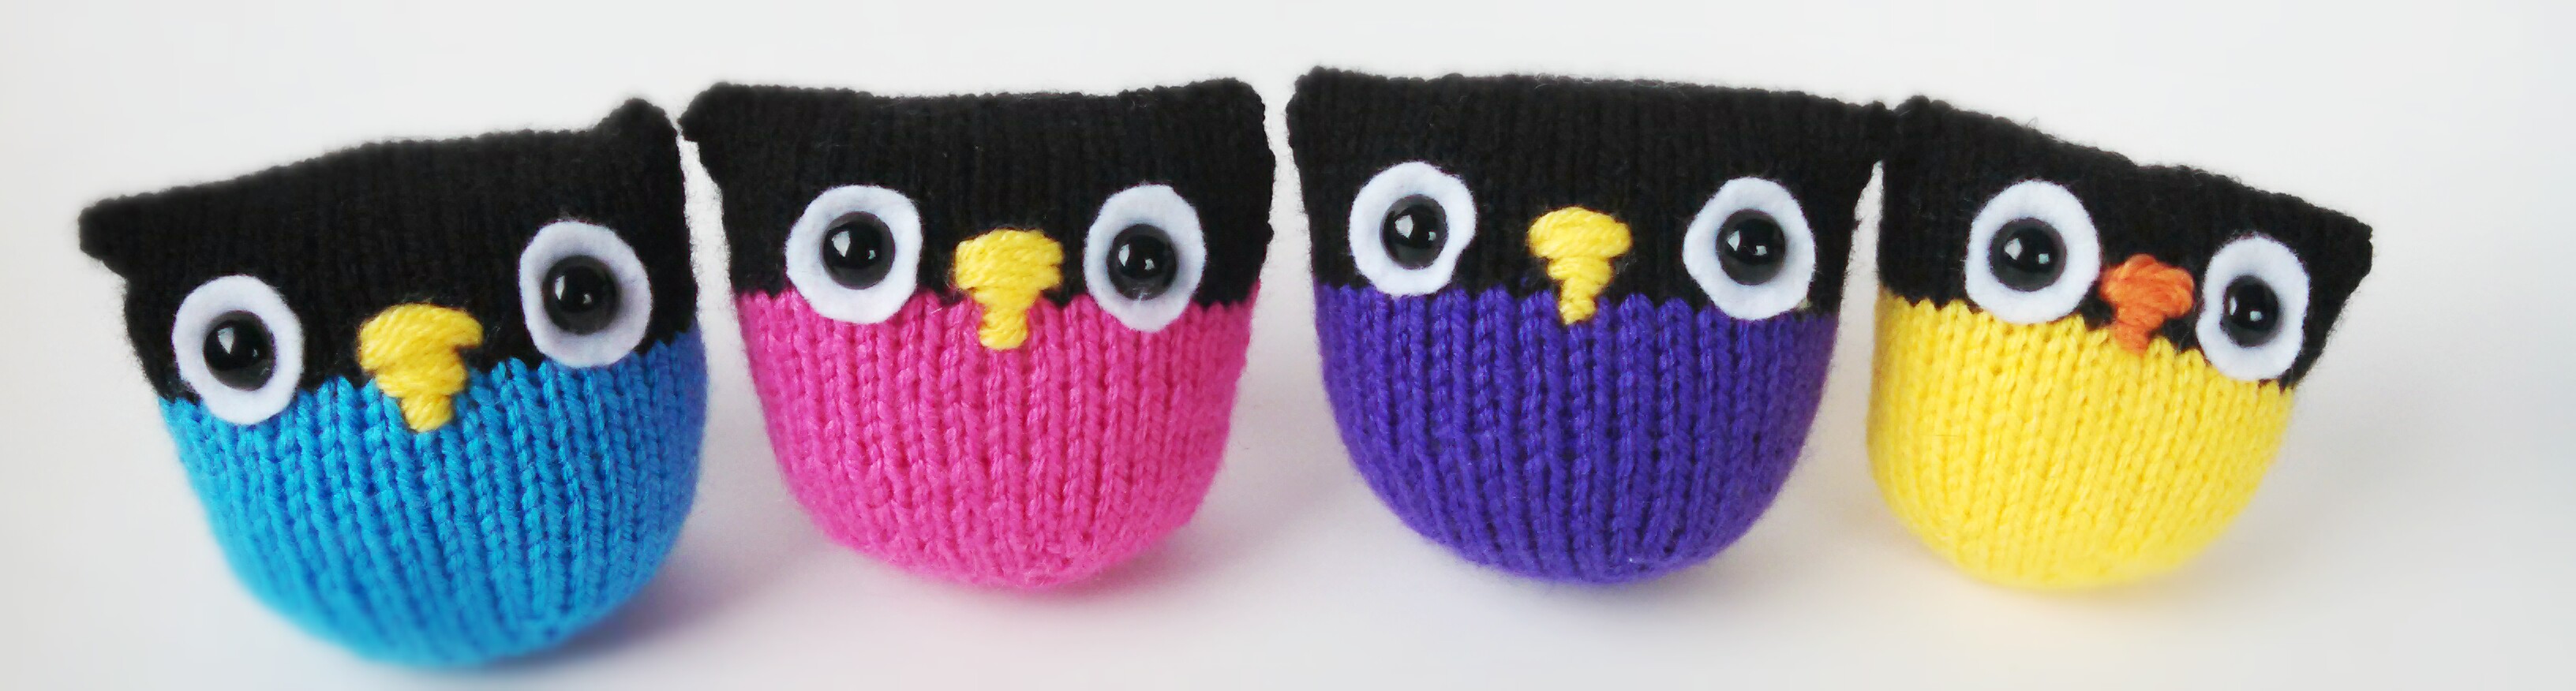
I tell you, they’re addicting! Each one takes me just a couple of hours start to finish and uses about 20 yds of yarn. They are great stashbusters. The puffs can be made with any weight of yarn and any sized needles. Here are a few I finished a while ago:

PhotoGrid_1425672107497

In the above picture, the two bottom owls are worsted weight. In the top photo, the yarns left to right are DK, super-bulky, and worsted. I made two owls using super-bulky as gifts for toddlers, so rather than using saftey eyes, I crocheted eyes.

What to do with them? Well, I’ve given them away as gifts. Some are scattered around my apartment. They would make fun cat toys or beanbags. I’m thinking of leaving them in random places as a sort of yarn bombing.  😉

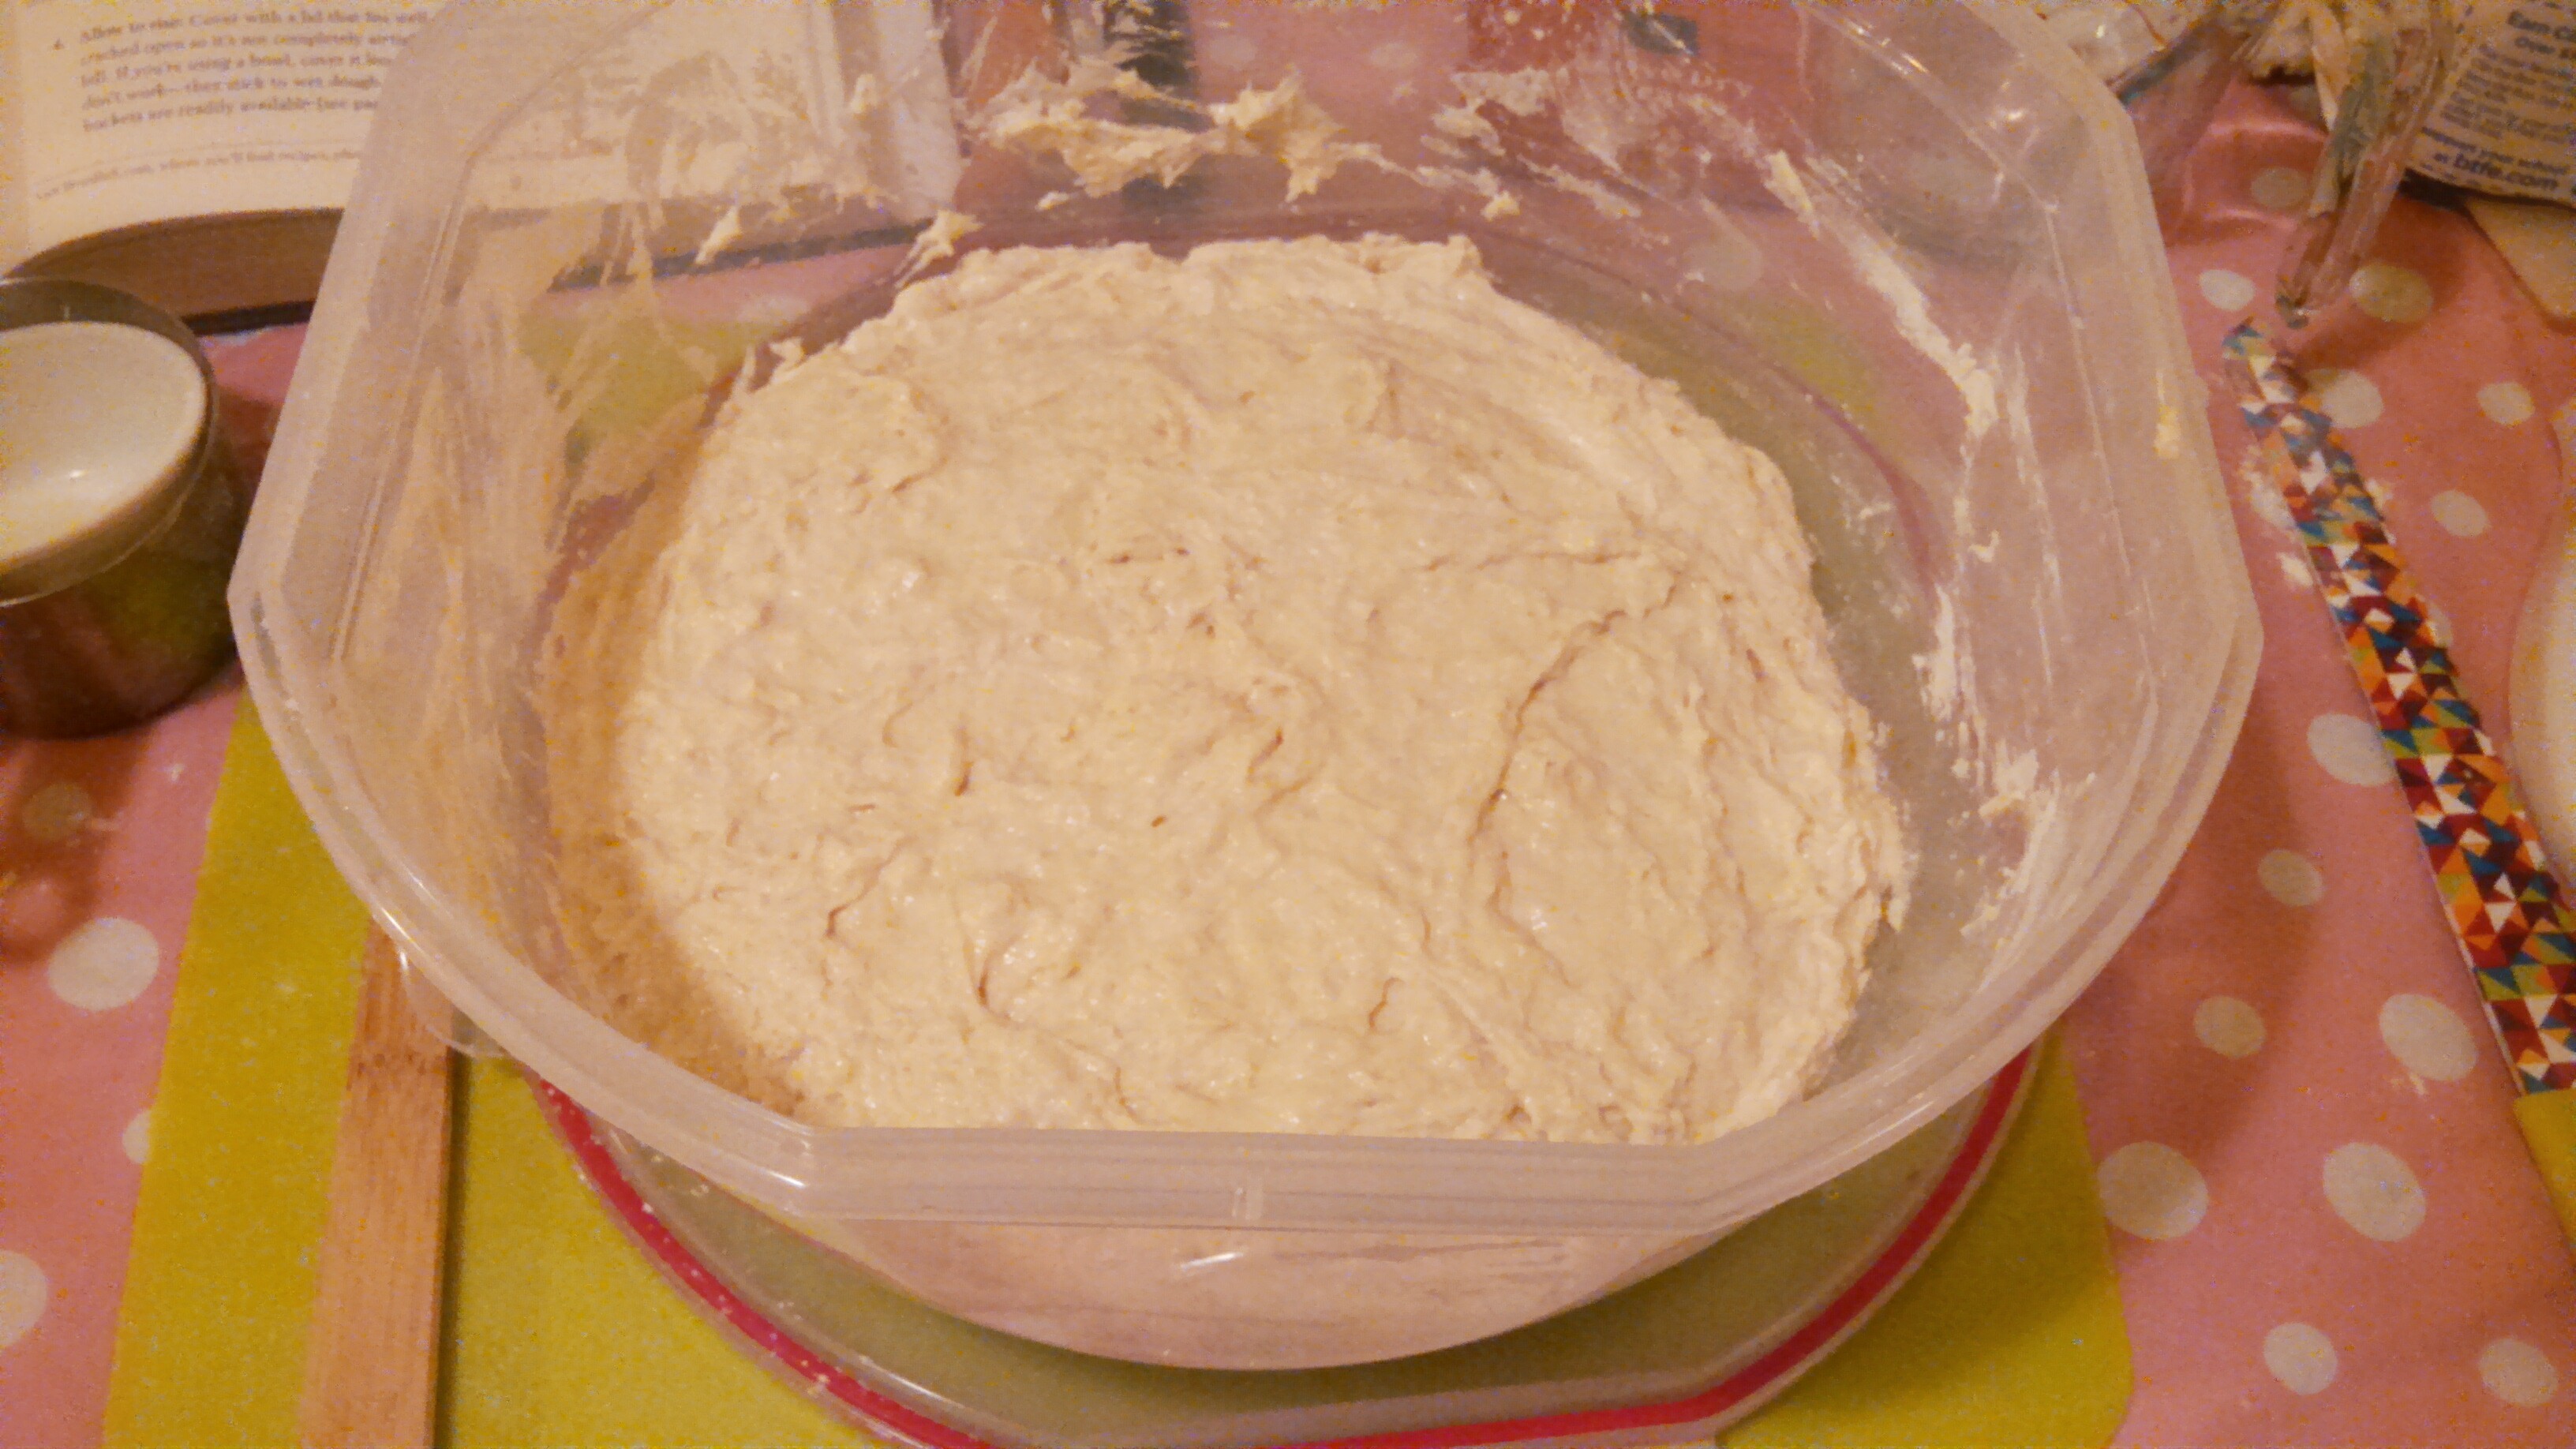
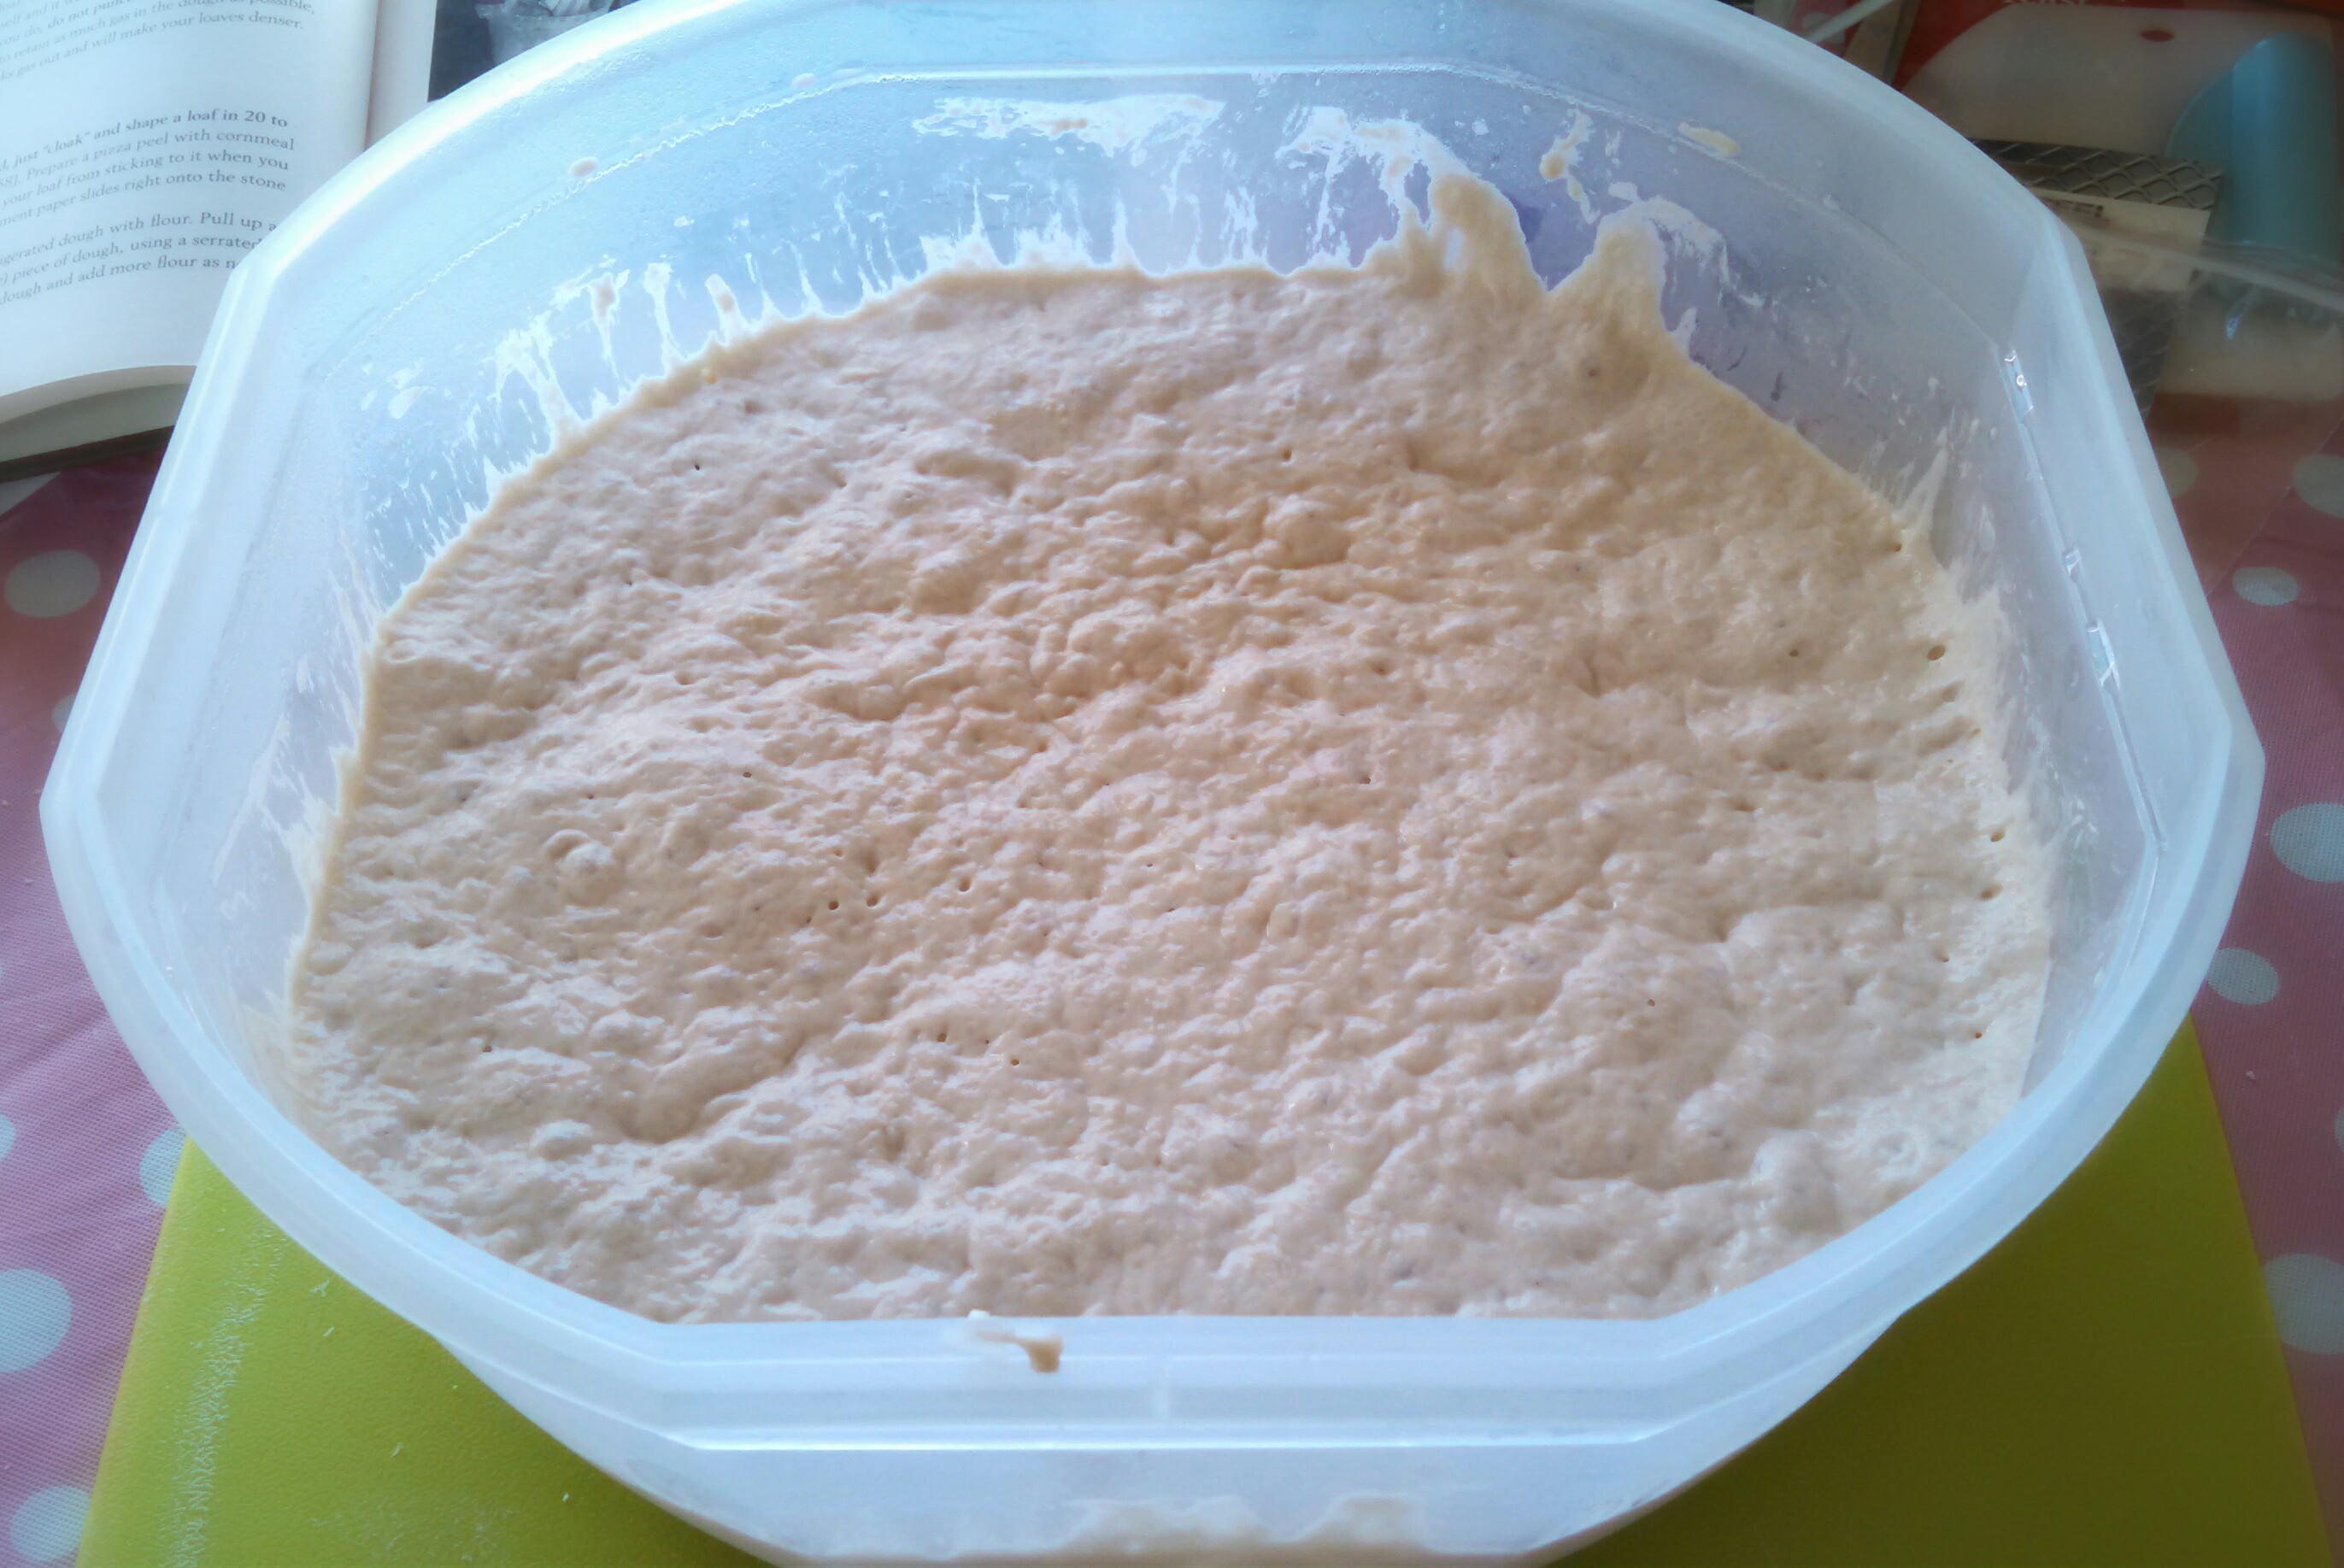
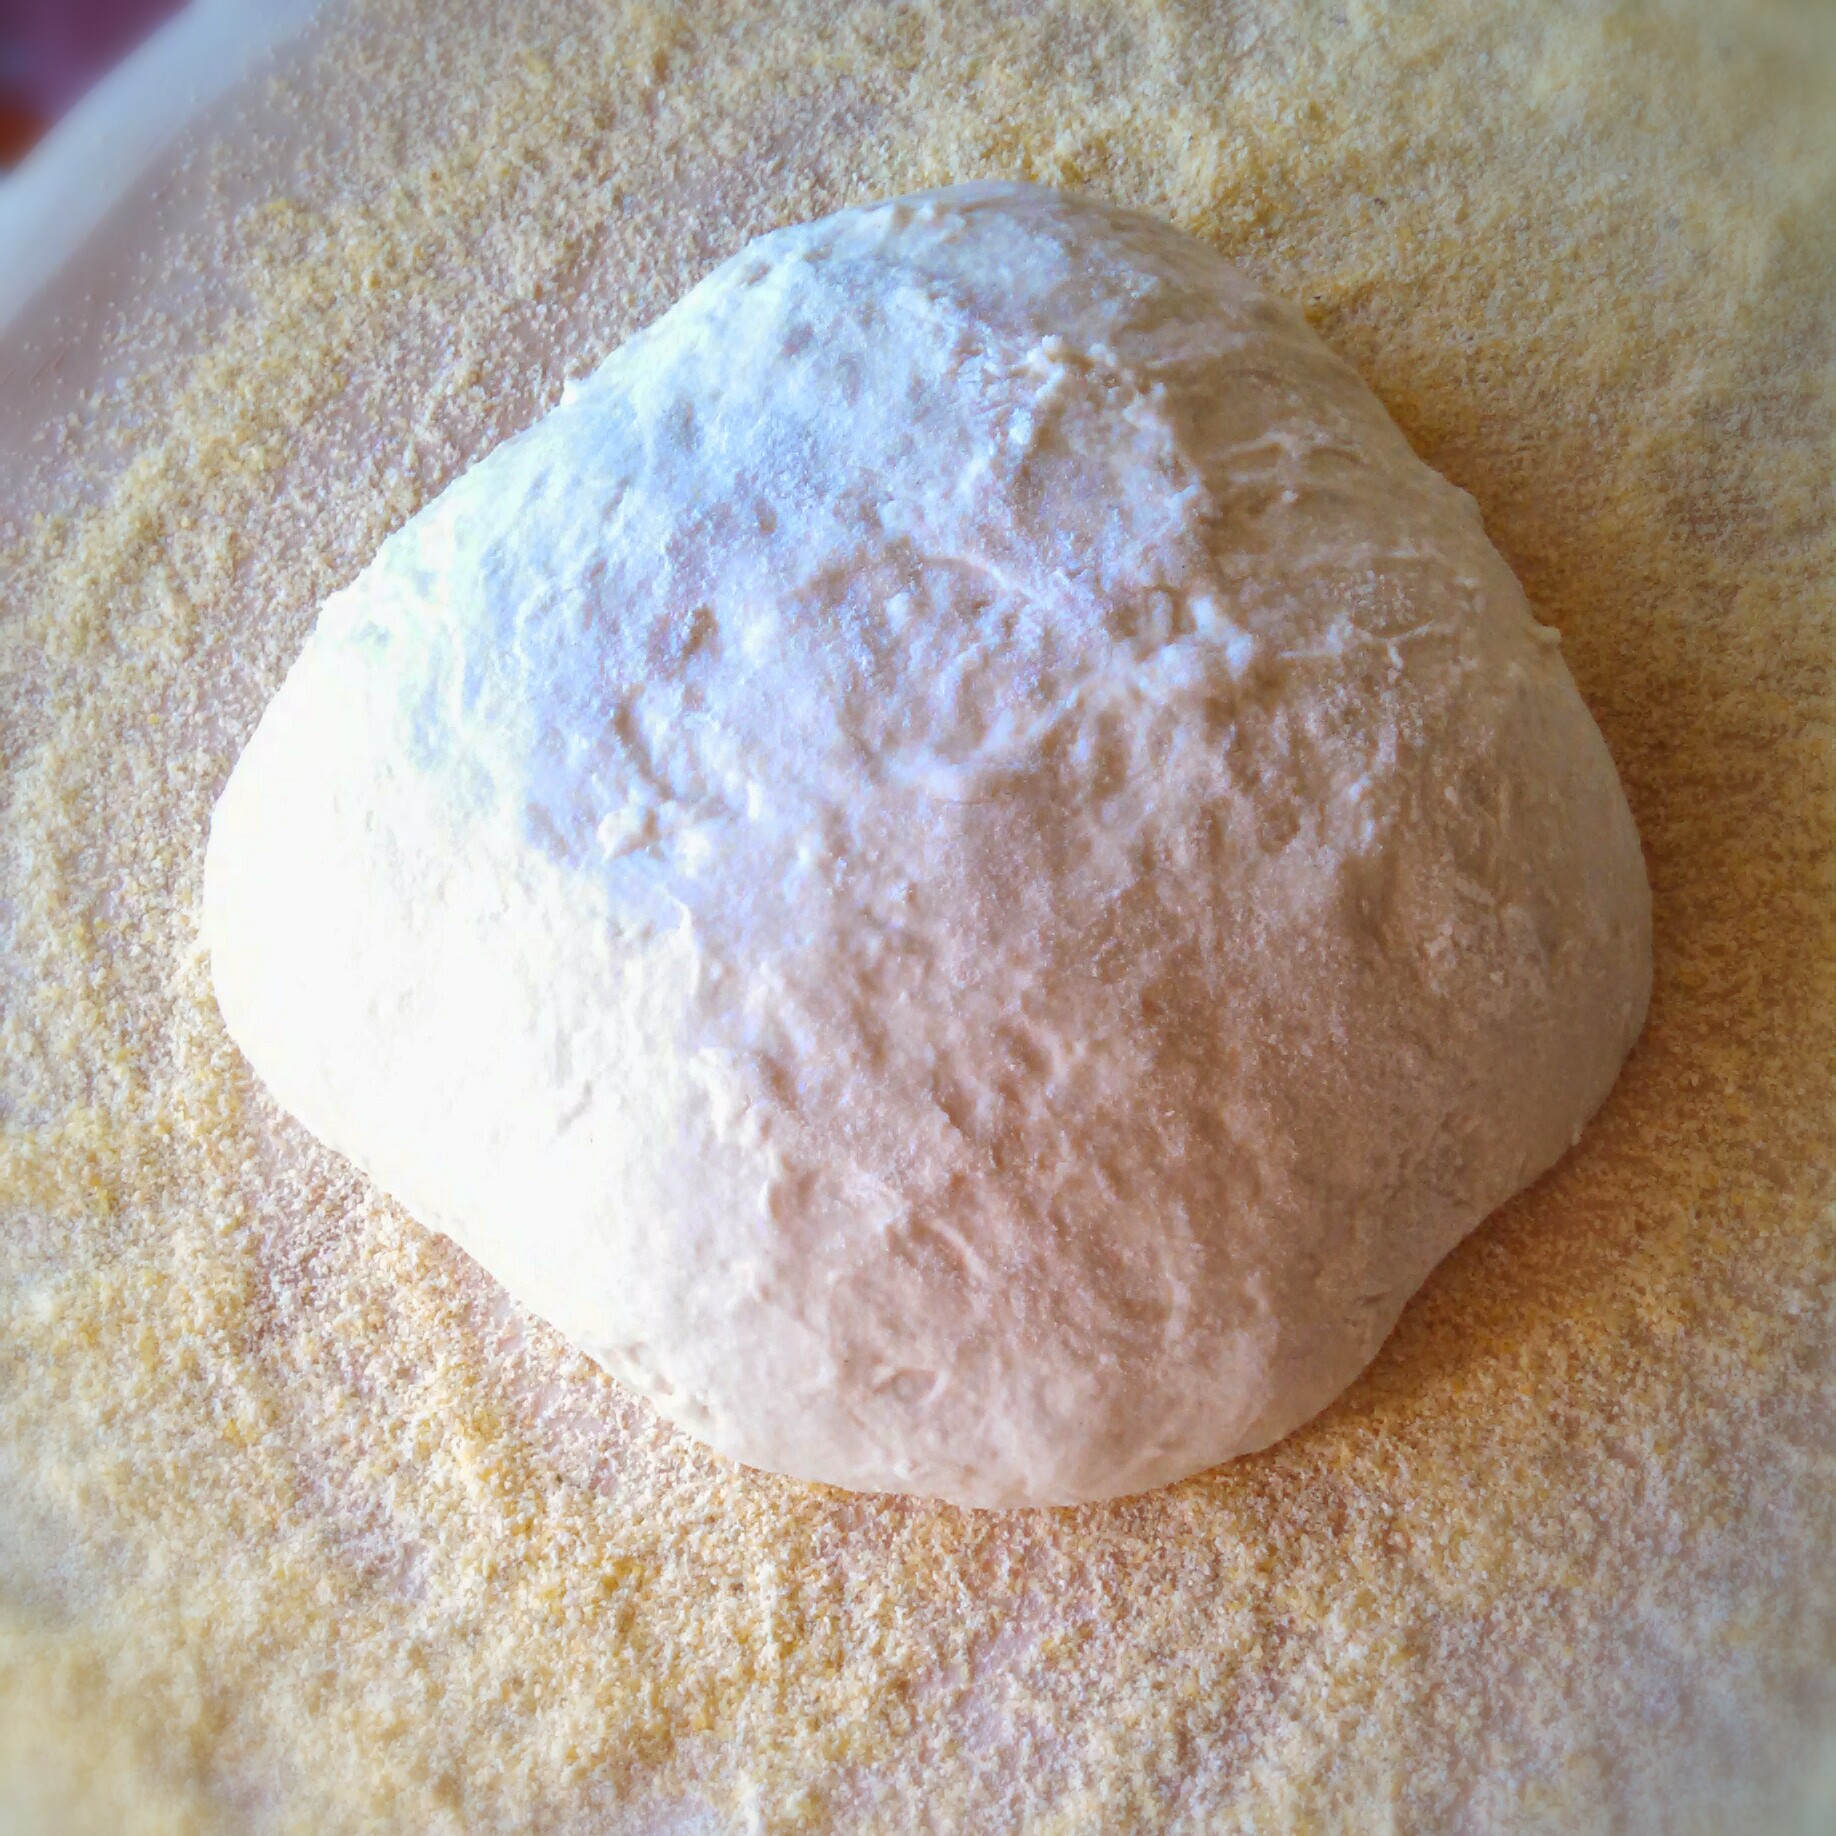
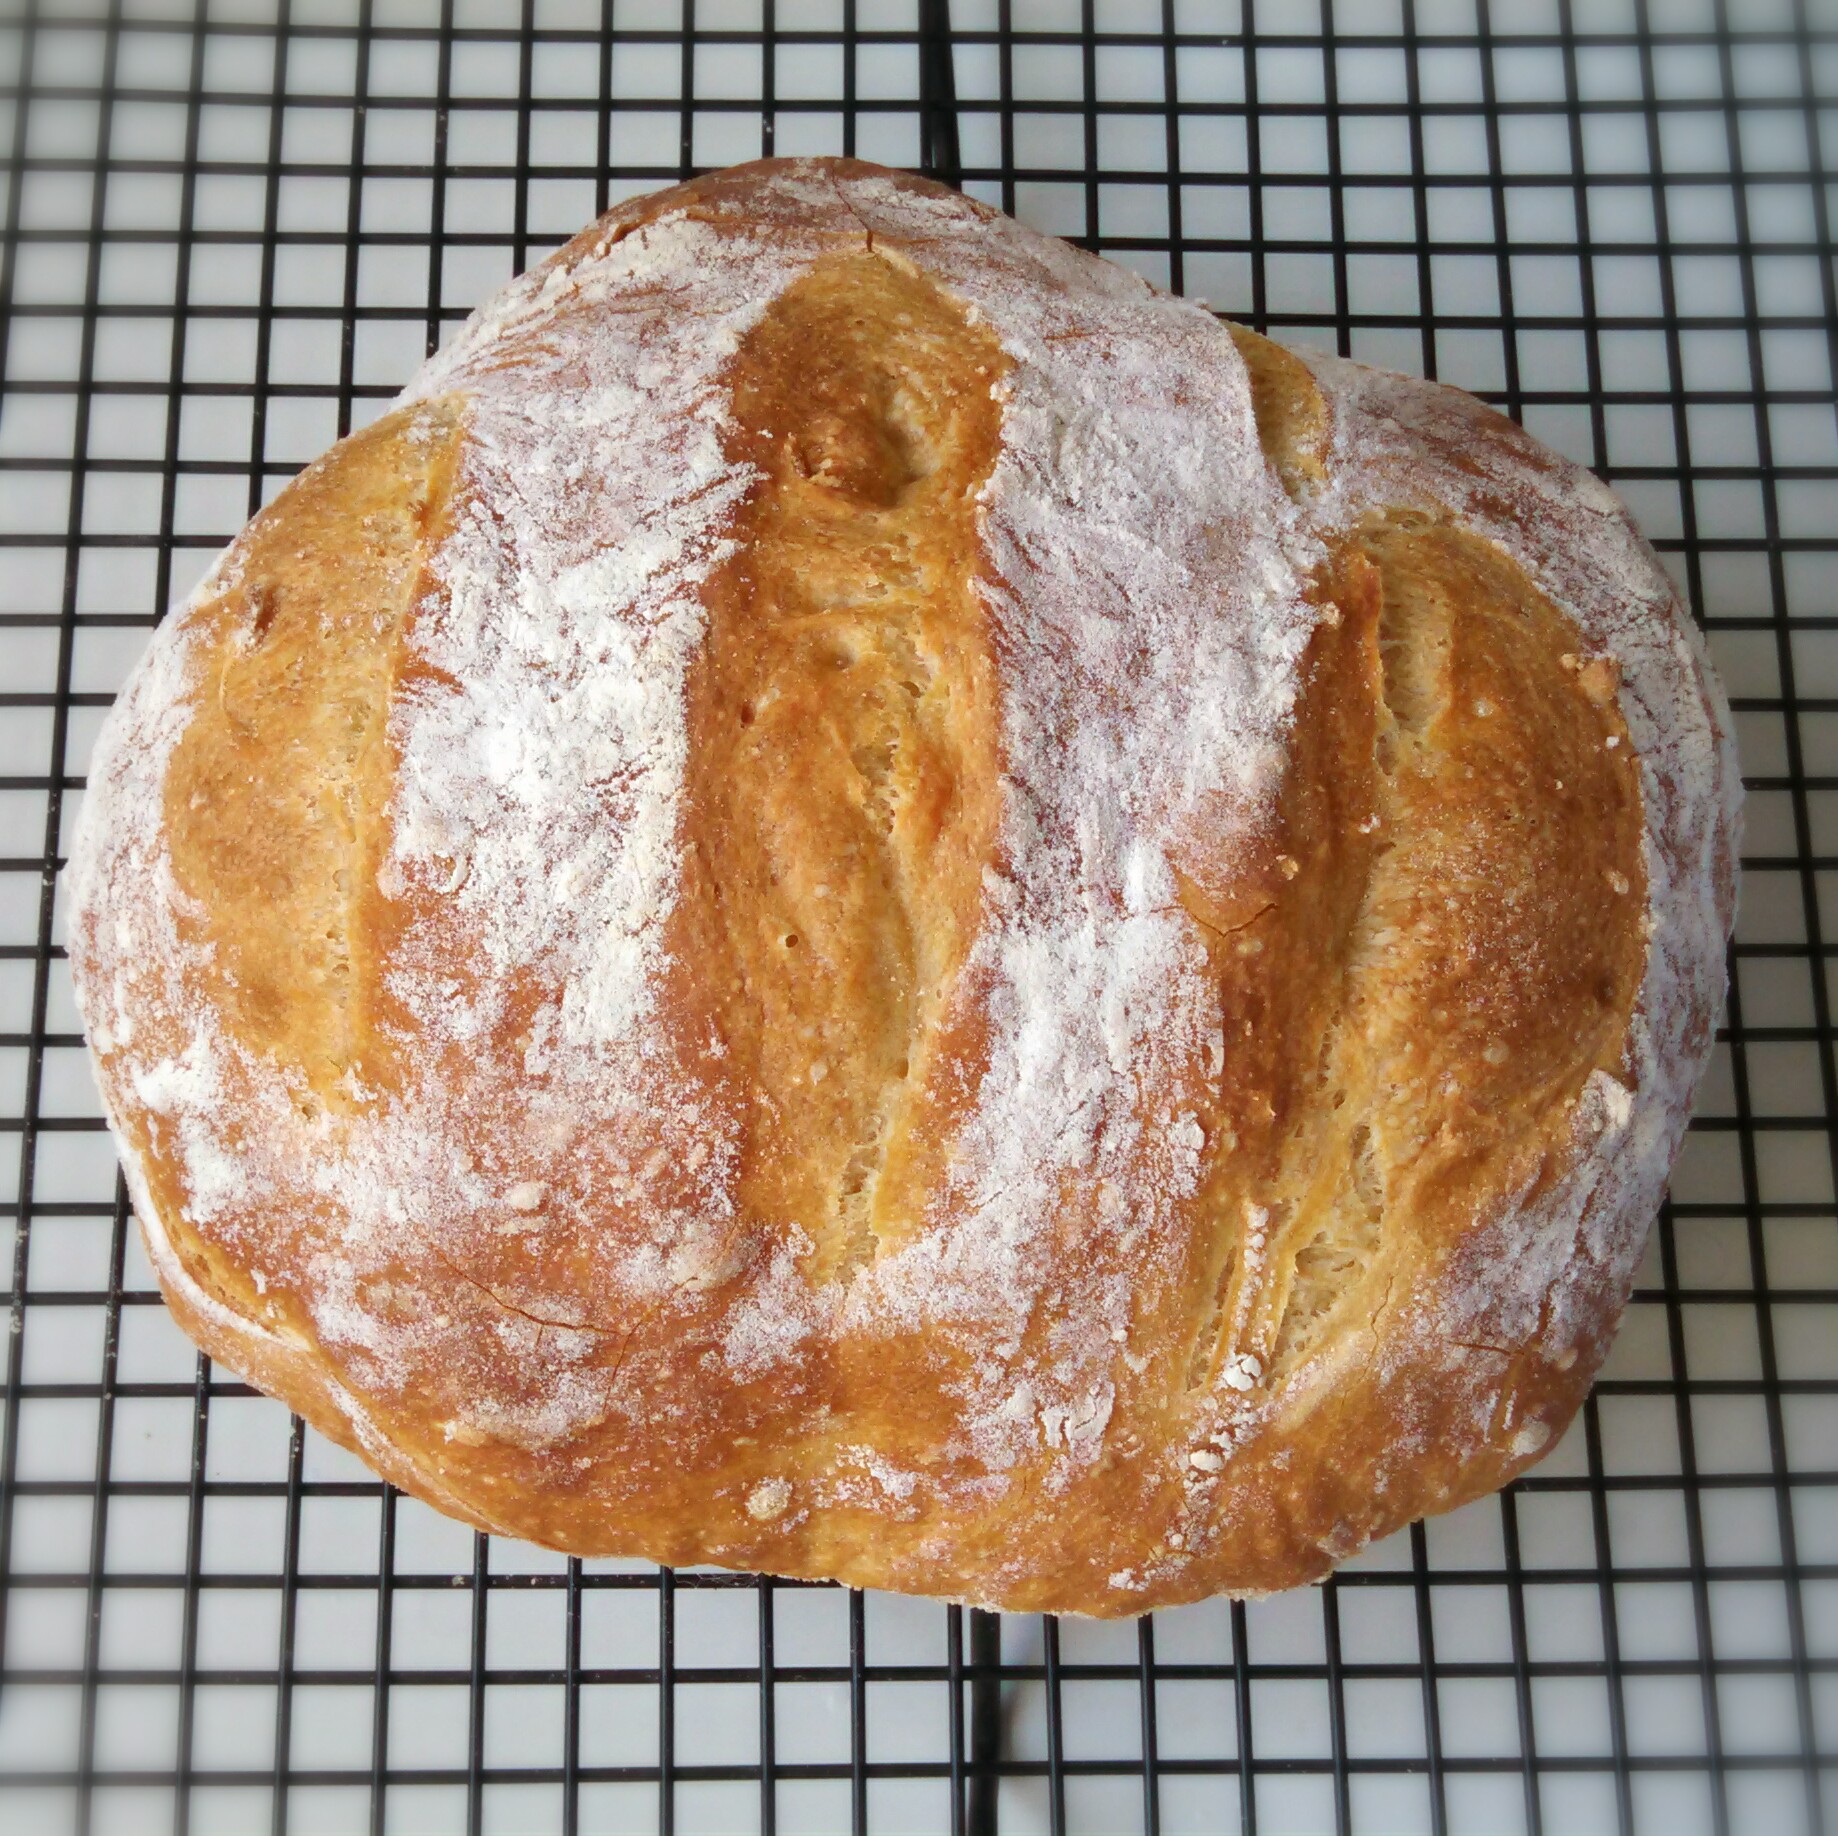
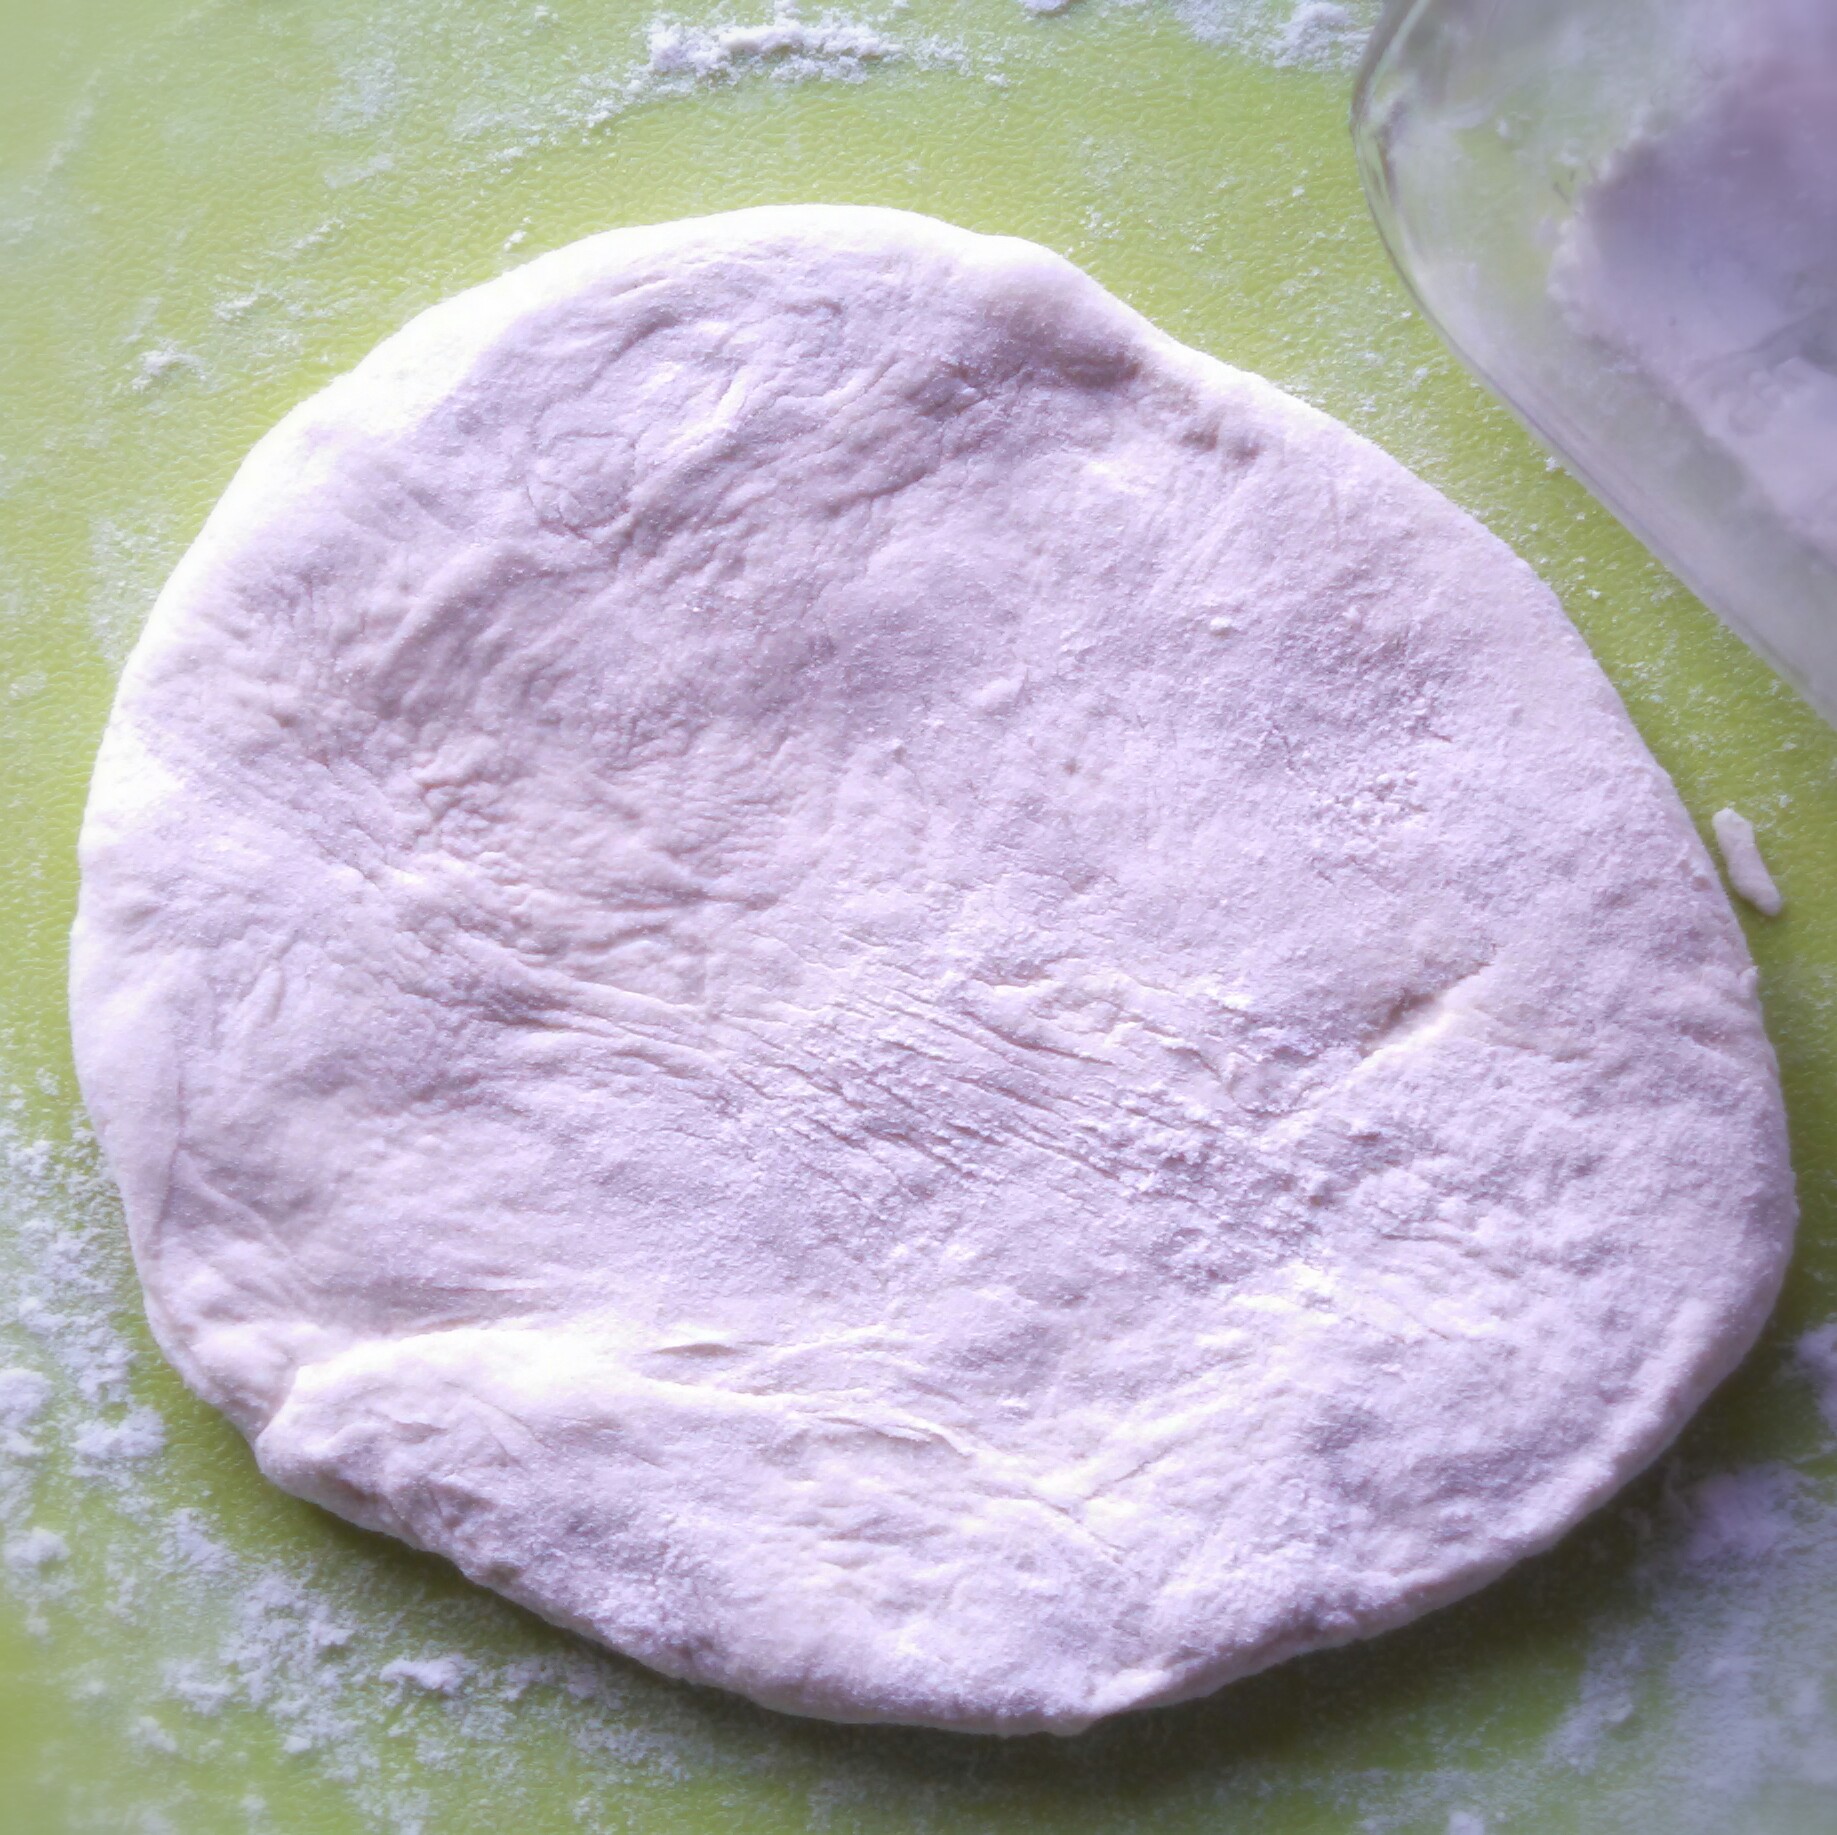
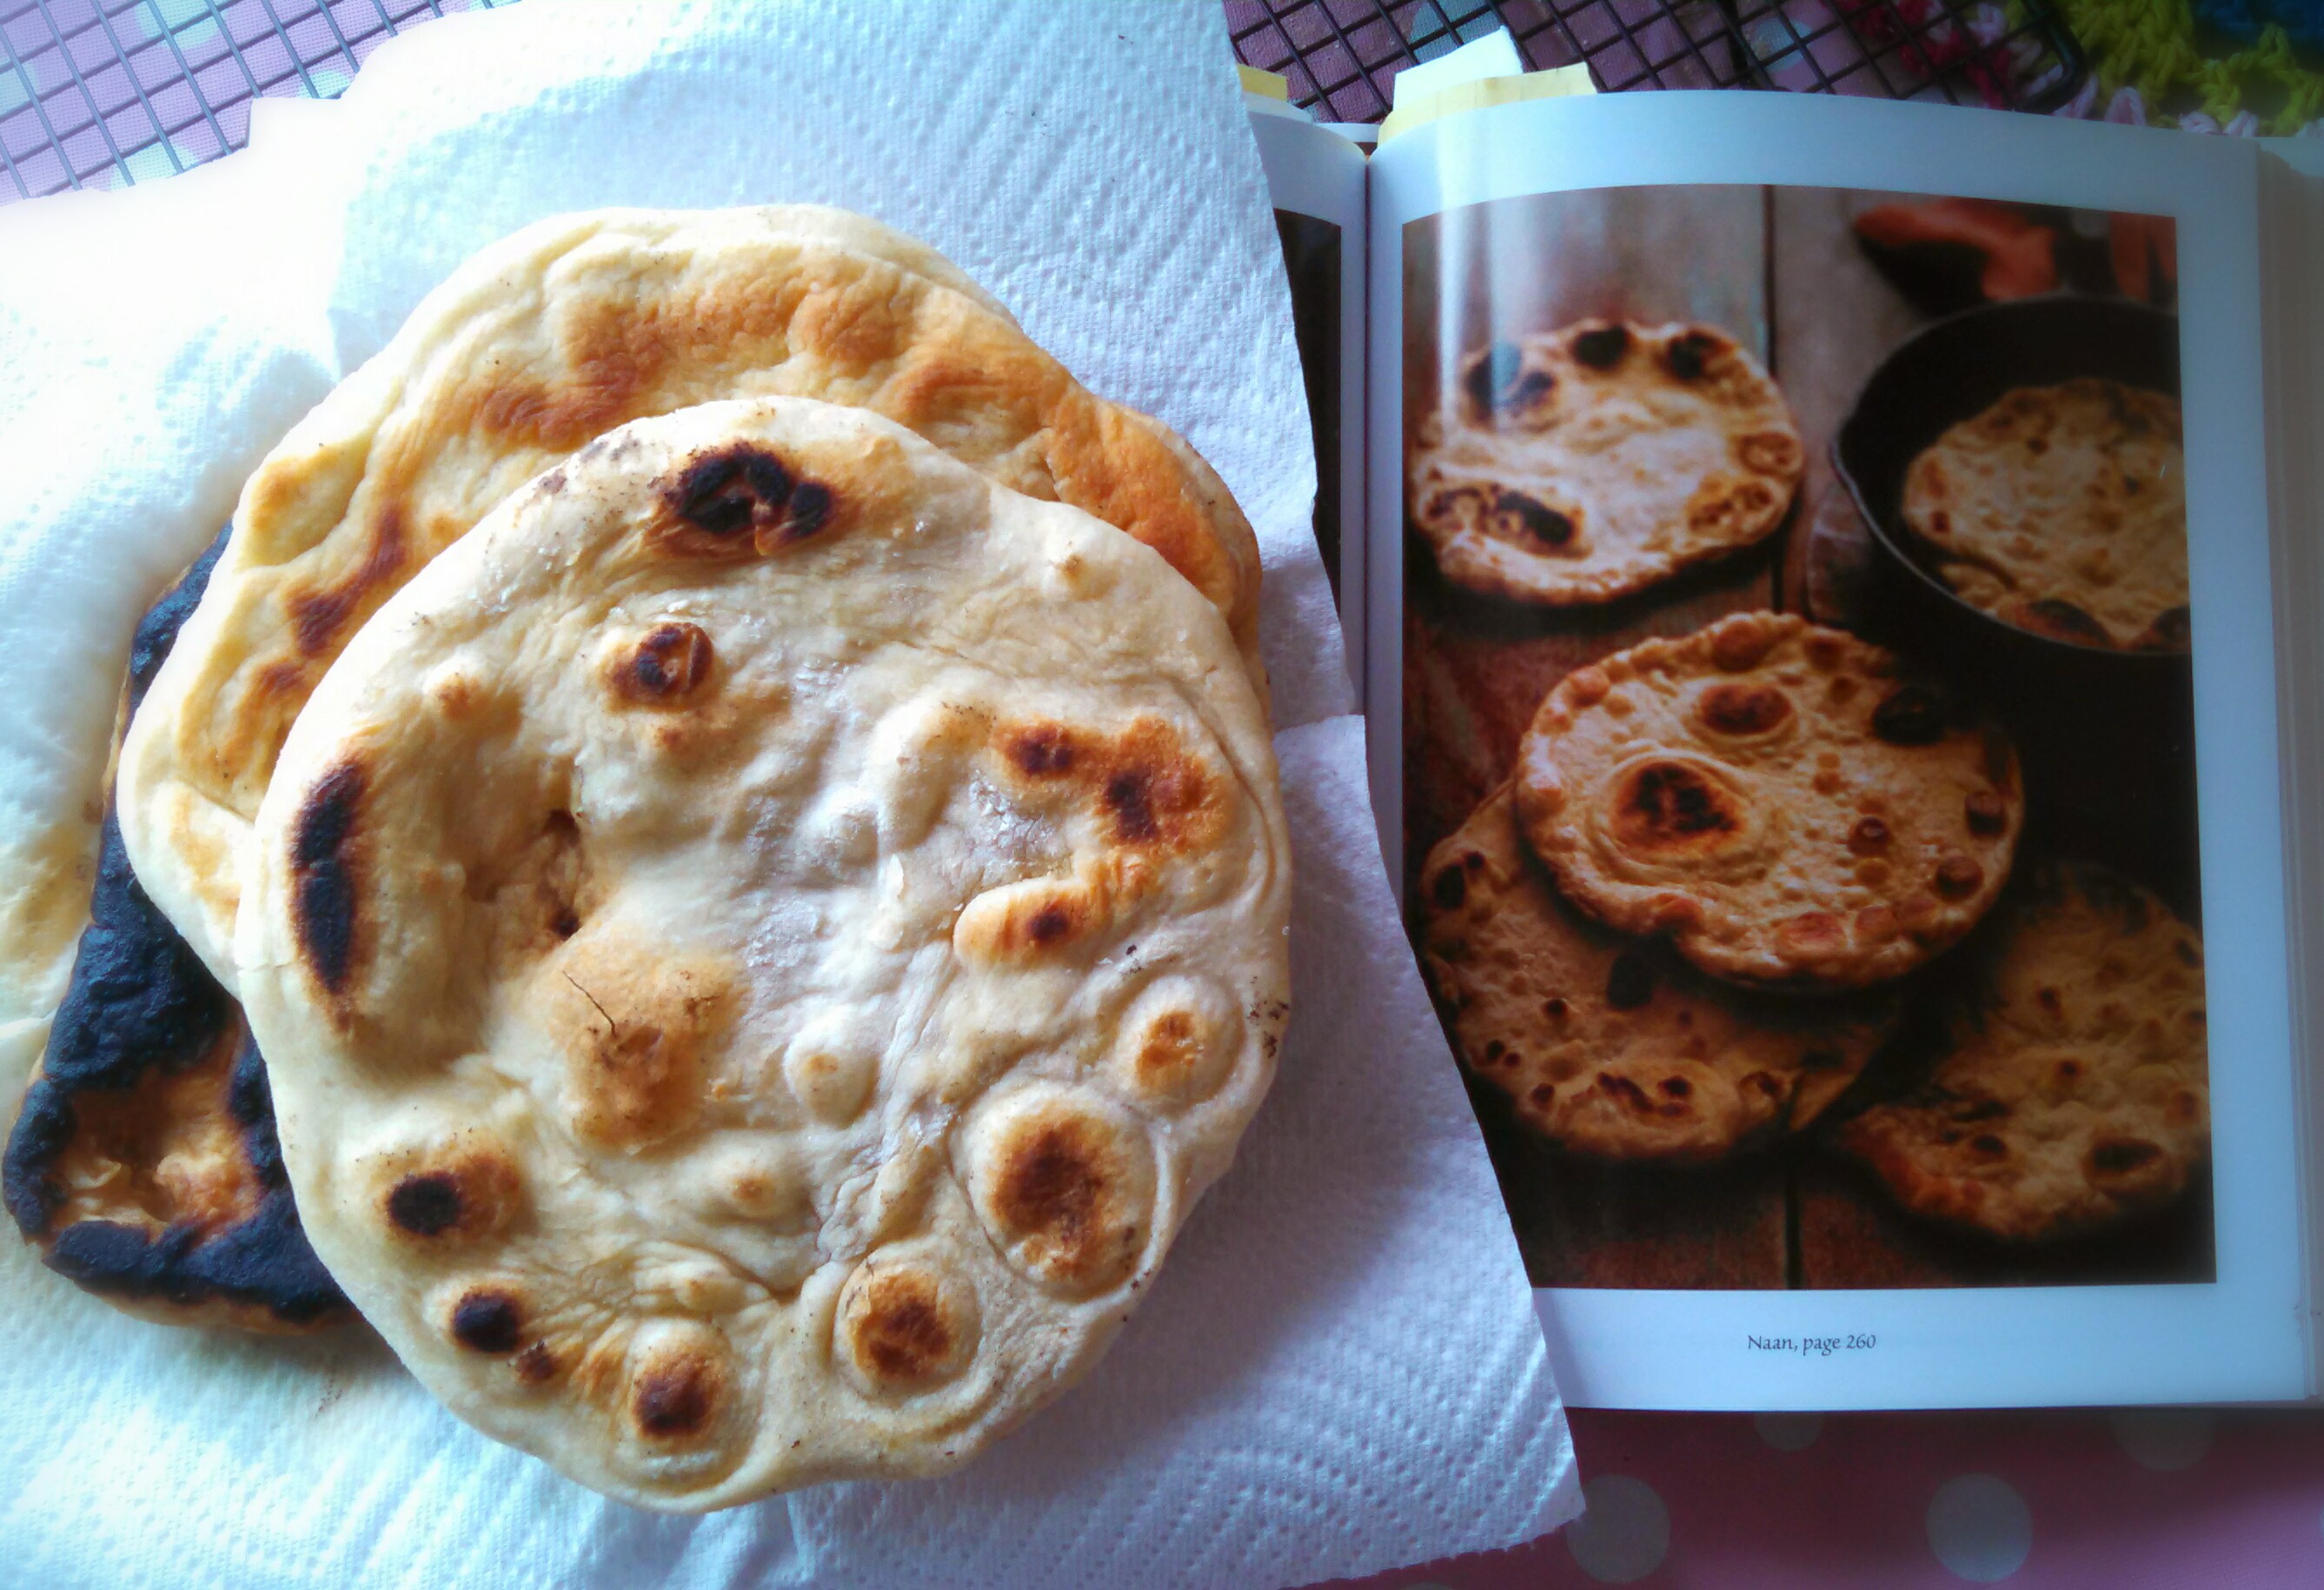
Also, this wouldn’t be a Finished Object post during Lent without a gratuitous bread photo. I made three loaves, but forgot to photograph the second one.

PhotoGrid_1425668611048

Have a happy Friday and a great weekend!

~Janet

IMG_20150306_080426_187~2

The Knitty Gritty

Pattern: Owl Puffs

Yarn: Hobby Lobby’s “I Love This Yarn” in “Grape,” “Blue Neon,” “Yellow,” “Black,” and “Hot Rose”

Needle: US-3

Eyes: 12 mm safety eyes

Advertisement

FO Friday: My Daily Bread

Today’s finished objects are a little different than usual. I have made bread!!!  I followed the Master Recipe in The New Artisan Bread in Five Minutes a Day, and I actually had some success!  I promise I won’t be so detailed in later posts, but I’m rather excited. So, here are my “project notes.”

IMG_20150217_134010_550~3

Bread. Such a simple thing, really. Flour, water, salt, and yeast. Four simple ingredients combine in some sort of elusive alchemy to create that wondrous, heavenly staple that has fed the world for millennia.

Well, the alchemy isn’t so elusive. This book demystifies the process and turns even a non-baker like me into a successful bread maker…or moderately successful anyway. 😉

IMG_20150221_213210_562

All the players

IMG_20150221_215942_603~2

First, I combined the ingredients in an 8-quart bowl.

IMG_20150222_241947_133~2

Allowed it to rise for two hours. It really rose!

IMG_20150223_082605_746~2

After resting in the fridge overnight. The dough shrank as the authors said it would.

IMG_20150223_083850_715~2

Shaped and resting on the peel.

IMG_20150223_101024_116~2

And the finished loaf! Tada!!

It turned out kind of wonky and heart-shaped, but it’s bread! Unfortunately, it also turned out a little gummy in the middle. Not underdone, just gummy instead of moist. It made yummy toast!

IMG_20150223_115408_690~2

The next loaf I made looked a lot better. I remembered to dust the top with flour and made my slashes a little deeper. However, it also turned out gummy.

IMG_20150224_152324_239~2

According to the book, my dough is probably too moist. I’ll add a little more flour to my next batch. In the mean time, I decided to burn (unfortunately literally) the rest of this batch of dough making naan. I love naan and was excited to find instructions for making it in the book.

IMG_20150226_121341_463~2

A mason jar for a rolling pin

IMG_20150226_124541_449~2

12 in cast iron skillet

IMG_20150226_131201_657~2

It took three times to get a piece that resembled the pictures in the book. The extremely burned one on the bottom is the one I made when I followed the directions exactly. My apartment still smells like smoke! I know now that “high heat” too high on my stove! It was a good learning experience. I’ll be making naan again, I’m sure.

Time to start my next batch of dough. Have a great Friday and a wonderful weekend!

~Janet